As its name suggests, your WordPress navigation menu is a means for your visitors to steer their way through your website. It’s essential, therefore, that your menus are easy to find and even simpler to use. However, while it’s important to ensure user-friendliness, your menu also needs to look good.
This article will offer a variety of ways to achieve a suitable design for your website that also appeals to your visitors. We’ll start by showing you how to manually alter your menus using code. Next, we’ll take a look at four plugins that can help make the process easier. And finally we’ll end by showing members of our own community using Divi how they can style their menus with ease too.
Let’s jump right in!
How to Style Your Navigation Menu Manually
If you’re au fait with Cascading Style Sheets (CSS), it is possible to alter your navigation menu manually. One way to do this is to use the CSS Classes field within WordPress, and add a custom CSS class to your menu items. In the WordPress dashboard, navigate to Appearance > Menus. In the top right of the screen is a Screen Options button – click on this, and from the drop-down check the CSS Classes box:

Next, go to the menu item you want to style and click on its arrow. You’ll see a new CSS Classes field, where you can add a descriptive class name:
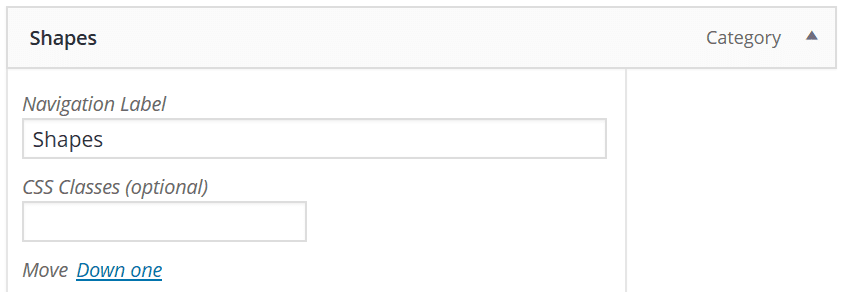
Once you’ve added your class, hit Save Menu. From here, it’s up to you! By using some custom CSS, you can change the font, size, color background, and almost anything else you like. While it’s definitely the hardest of the three options we’ve outlined, manually styling your menu enables you to get really creative in designing a unique look that fits your site.
4 Top Plugins to Help You Style Your Navigation Menu
Thankfully, there are lots of free and premium solutions available for anyone interested in styling their WordPress menus with plugins instead of manually with code. The one you choose will depend on the styling and breadth of options you’re looking for. Here are some we recommend:
1. Max Mega Menu
Max Mega Menu will automatically convert your menu into a mega menu. If you prefer the traditional ‘flyout’ look, that’s also supported by the plugin. Although it’s not the most intuitive to use, this popular plugin offers a wealth of features to help you style the perfect site navigation system for your visitors. Your menus are arranged in a drag-and-drop interface, before styling almost every aspect including font size and background color, icons, and transitions.
The fact that this versatile plugin is free is a huge bonus. However, if you do want to unlock additional features such as sticky and vertical menus, you can upgrade to the premium version for $19.
Key Features:
- Offers mega or flyout menus.
- Supports multiple menu locations.
- Includes the option to display WordPress widgets.
Price: Free | More information
2. Responsive Menu
Responsive Menu is a super intuitive plugin for creating beautifully-styled menus. The interface itself is very easy to navigate, and there are enough features in the free version to create a fantastic design. You can customize colors and fonts, use a background image, upload logos, and more. If you don’t find everything you need there, you can upgrade to the premium version for $14.99. This will unlock additional features such as change previews and additional animations.
Key Features:
- Includes a background image option.
- Supports up to five menu levels.
- Offers a choice of menu animation options.
Price: Free | More information
3. Superfly
Sometimes the fairly standard horizontal menu isn’t the best fit for every site. Superfly is designed to give you a vertical menu that can be displayed on either side of the page. There are several options for how it appears including static, slide in, or full screen. You can choose to feature text, icons, or both to represent your menu items. Finally, you also can add an image as the background for your menu, and add widgets and shortcodes.
Key Features:
- Offers various menu modes.
- Has display control options for mobile and desktop.
- Supports up to four menu levels.
Price: $22 | More information
4. UberMenu
UberMenu is a powerful plugin that uses a simple grid system to create beautiful navigation menus. Its intuitive customizer means you can style your menu quickly and simply. You can adjust each item individually, and also add images, widgets, and shortcodes. This plugin is also touch-enabled for a smooth mobile experience.
Key Features:
- Uses a built-in grid system.
- Offers both mega or flyout menus.
- Includes 50 Font Awesome icons.
Price: $19 | More information
While the free options here have lots of features, you may find yourself upgrading to a paid version if you eventually want something more advanced. If you’re unsure of what you want your final design to look like, it may be worth experimenting with a free plugin to get a feel of what you can do.
How to Style Your Navigation Menu Using the Max Mega Menu Plugin
Max Mega Menu is a popular and feature-rich plugin, and is an excellent free option. Let’s take a look at the two steps you’ll need to carry out to create your menu.
Step #1: Create and Organize Your Menu
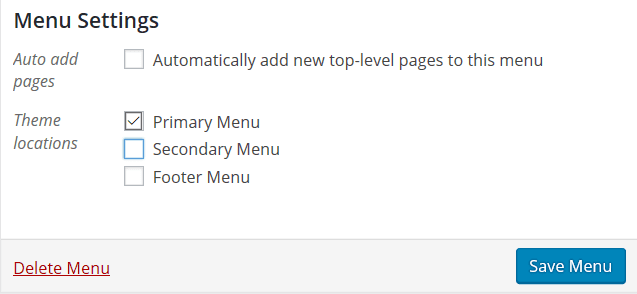
Once you’ve installed and activated the plugin, you’ll need to enable it for the menu you want to style. In the WordPress dashboard, go to Appearance > Menus. From the next screen, select the menu you want to style and click Save Menu:
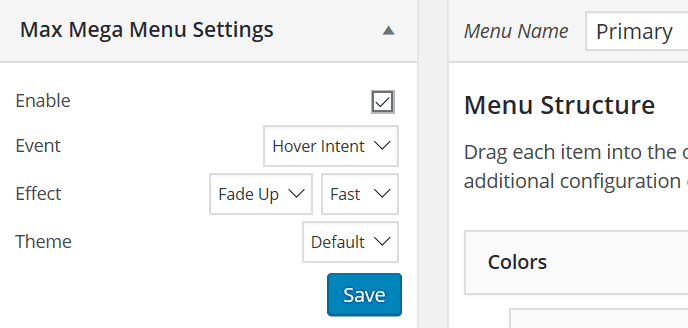
You’ll then see a series of fields within the Max Mega Menu meta box, and you can use these to adjust the basic behavior of your menu before hitting Save:
Next, you can add items to the menu as normal, and rearrange them in the Menu Structure section. Once you hover over each item, you’ll notice a Mega Menu settings button:
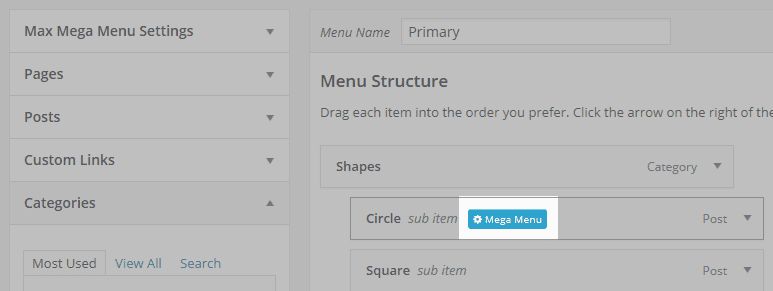
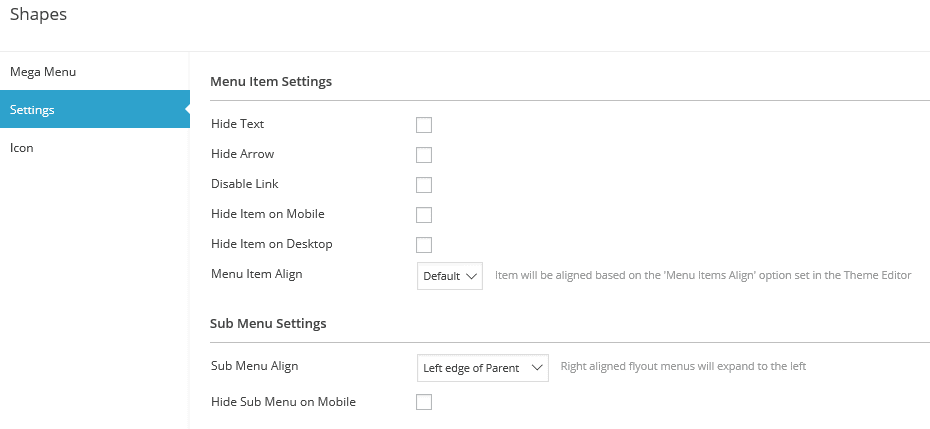
Clicking this enables you to make changes to each individual item, such as the submenu style (in the Mega Menu tab) and the appearance and behavior (in the Settings tab):
Once you’re happy with your settings here, you’ll need to style your menu.
Step #2: Style Your Menu
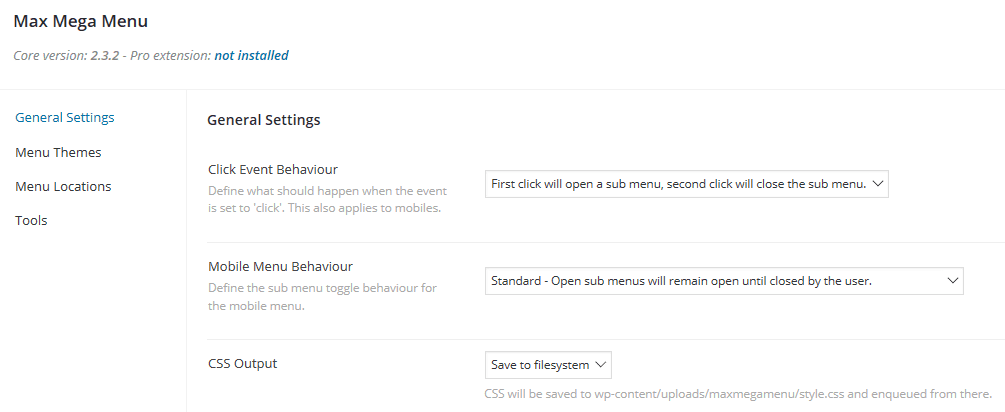
To make changes to the overall style of your menu, you’ll need to leave the Menus screen. In your dashboard, click on Mega Menu and select General Settings. Here, you can adjust a range of features to tailor the behavior of your menu:
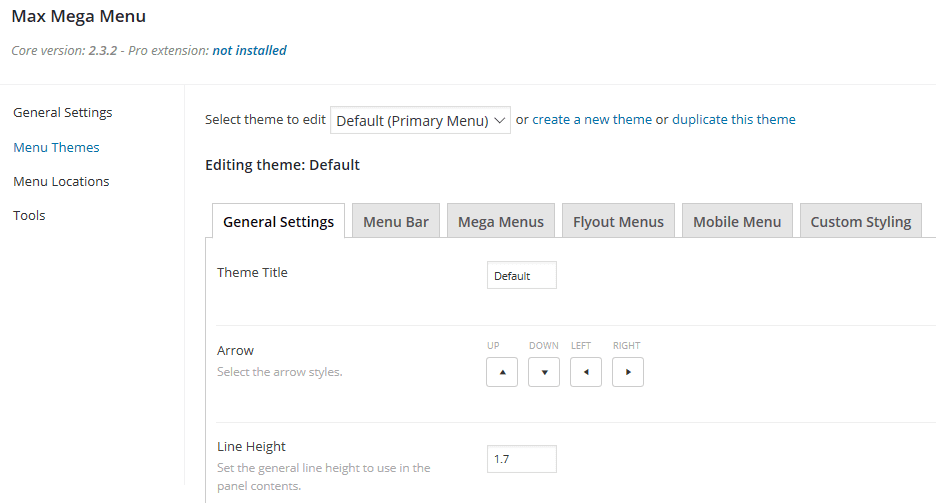
The Menu Themes tab enables you to have lots of fun with styling your menu. There are practically endless options at your disposal, and the General Settings tab here offers fields such as arrow styles, shadows, and hover transitions:
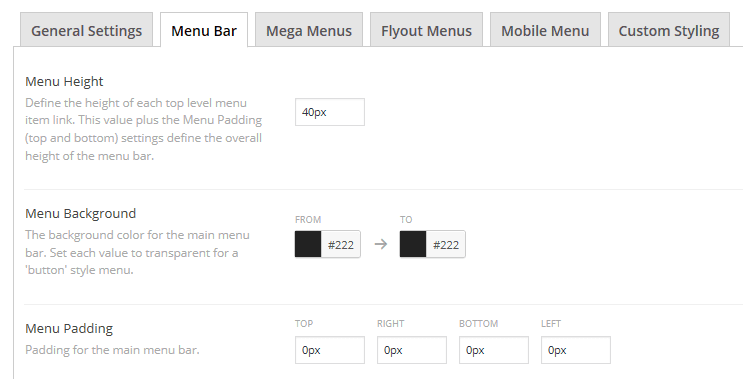
The Menu Bar tab enables you to style the main bar of your navigation menu. There are choices for font style, hover color, bar height, and lots more:
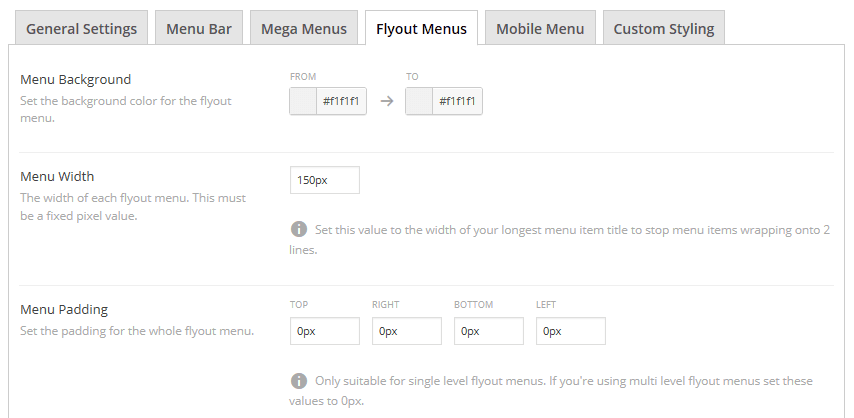
The next three tabs offer customization features for your mega menu, flyout menu, and mobile menu styles. The plethora of options here enable you to tailor them to appear exactly as you want:
Finally, there’s a Custom Styling tab in case you want to add custom CSS to further refine your design. However, if you are comfortable adding your own code, you may be more interested in the next section.
How to Style Your Navigation Menu in Divi
Our own Divi theme comes with three navigation menus and plenty of customization options. Before you start tweaking your design, you need to create your menu in the WordPress admin panel. You can then tailor its specifics further by using Divi’s Theme Options.
In your dashboard, select the Divi menu and click on Theme Options, then in the resulting screen select the Navigation tab:
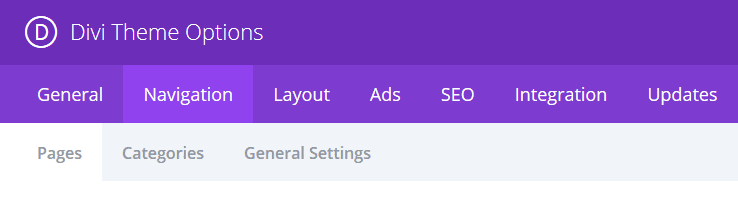
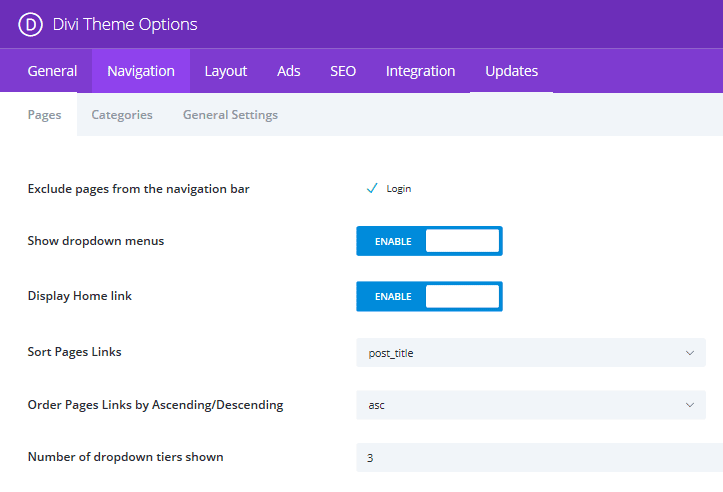
Here you’ll see three more tabs each containing fields for customizing your menu. In the Pages tab, you can specify how you want pages to be added to your menu…
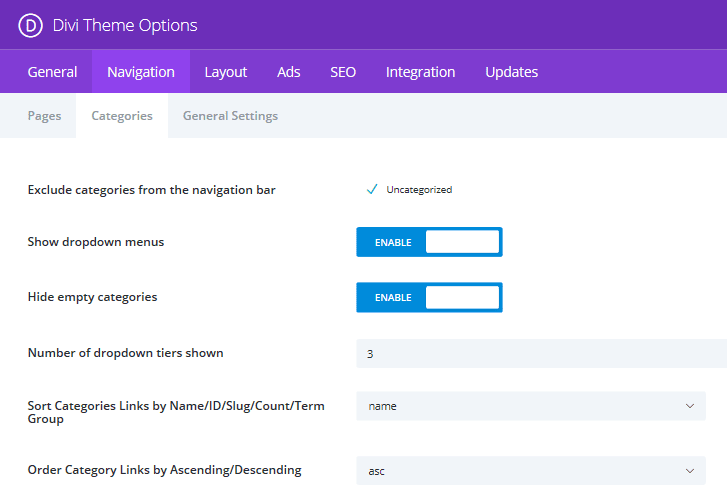
…and there’s also a similar tab for categories:
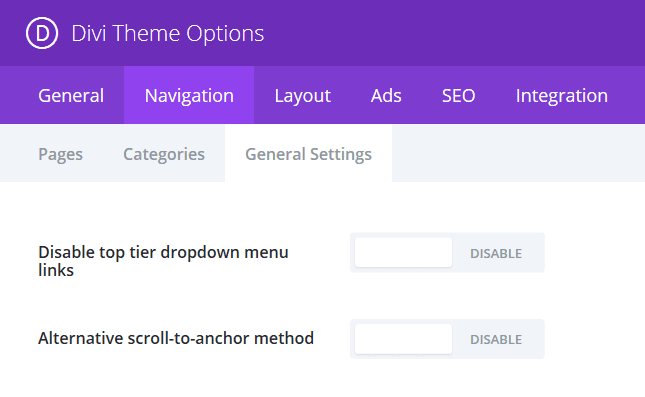
Finally, the General Settings tab has another couple of options for your menu behavior:
Once you’re happy with your menu content and functionality, you can style each one to your exact requirements in the Theme Customizer. From your WordPress dashboard, select Divi and click on Theme Customizer. In the resulting menu, click on Header & Navigation. The Header Format screen offers options for how the menu text appears, and you also have the option to change your navigation menu to vertical instead of horizontal.
Back in the Header & Navigation tab there are also buttons for each of your menus. Select the menu you want to customize, e.g. Primary Menu Bar, and you will be presented with a range of design options. For example, here are some of the color options at your disposal:
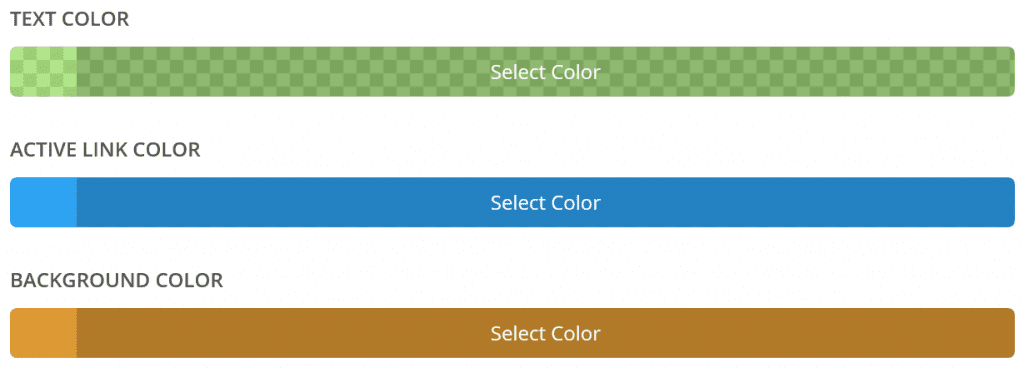
You can also make changes to the font (including the style, size, color, and spacing), along with the background and drop-downs menus. You can even choose how the menu is animated.
Conclusion
While your navigation menu must be intuitive and user-friendly, it’s also important that it looks fantastic. If your menu styling is an afterthought, it could be detrimental to the overall look of your site.
There are many choices for styling your menus in WordPress, and it all depends on your theme and your coding knowledge. In this article, we’ve shown you three ways to style your own navigation menu. Let’s recap them quickly:
- Use the options within Divi: If you’re a Divi user, it’s easy to customize your menu using the Theme Optionsand Theme Customizer tabs.
- Use a plugin: There are some excellent navigation menu plugins available such as Max Mega Menu.
- Style it manually with code: If you’re comfortable with code you can add CSS Classes and target them with custom CSS.
What is your preferred route for styling your navigation menus? Let us know in the comments section below, and don’t forget to subscribe so you can follow the conversation!